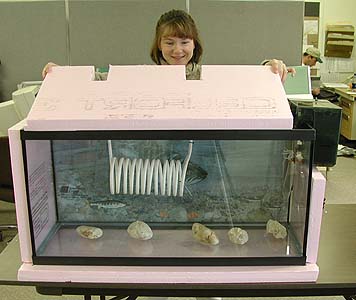
 The Fish Friends Tank and Cooler Unit, when properly assembled, provides an excellent system for raising the Salmonid eggs. Being reasonably large, it provides some cushioning of fluctuations in water temperature.
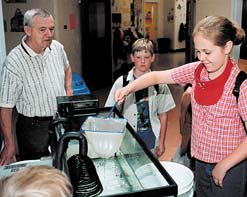
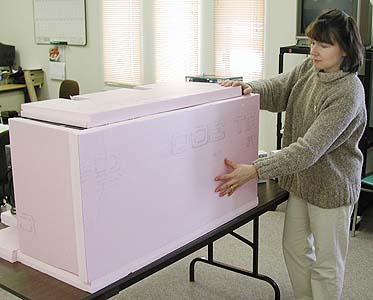
Below are a set of photos, in order, that will help a first time Fish Friends Teacher assemble the tank correctly. Each will show in a new window. Just close the window to return to this page.
A Note of Cleaning: When taking your equipment from storage, ensure that the aquarium, filters, powerfilter, rocks are thoroughly cleaned in preparation for the eggs. This prevents any potential contamination and mortalities of the eggs.
Older units: When temperature regulator is a knob
- Set desired temperature on the knob
- After 15-20 minutes, note the temperature on the thermometer in the tank. If the thermometer temperature differs from the knob temperature, note the difference, adjusting knob accordingly. Remember that the thermometer is always the more accurate device for tank temperature.
Basic Fish Friends Tank, with insulation beneath the unit
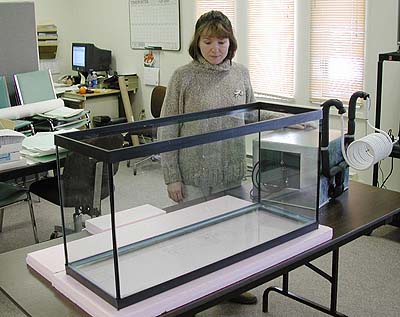
- Ensure the tank has a base of insulation underneath.
- A strong table, minimum 6′ in length, is appropriate.
- Position near an outlet.
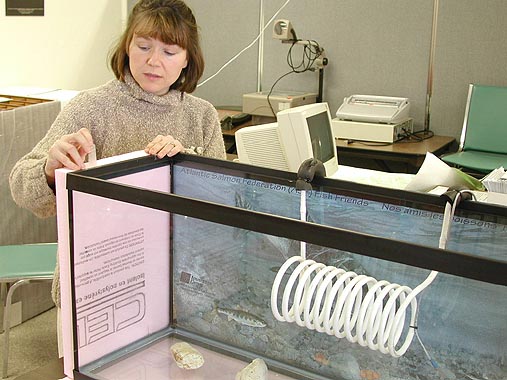
Tape Backdrop in Place 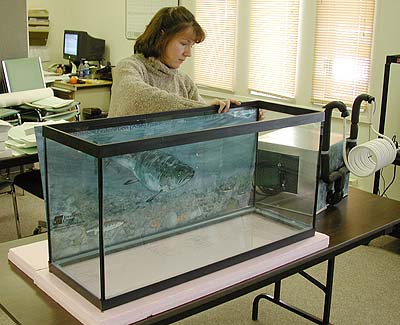
- Affix to the back of the aquarium, on the OUTSIDE
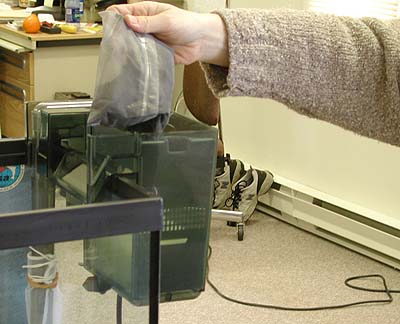
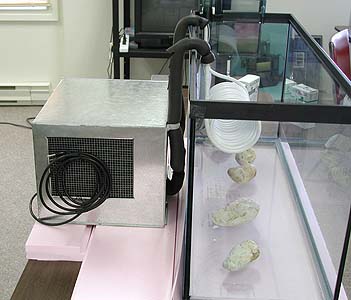
Lifting Cooler Unit in Place
- Position chiller to either the centre or left or right of the back of the tank, lower chiller coils inside the tank.
- Ensure that the chiller rests on a piece of insulation.
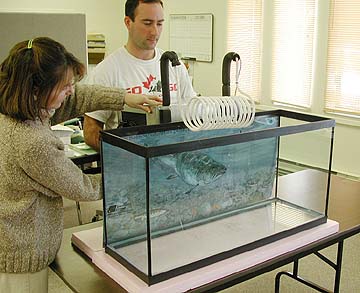
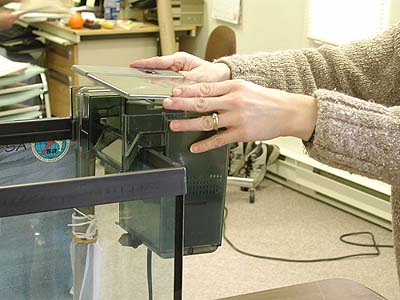
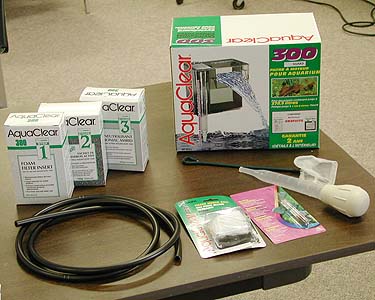
Powerfilter Unit 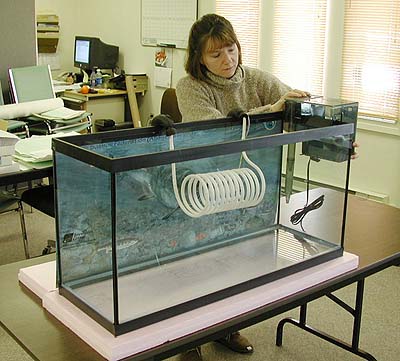 Closer Look
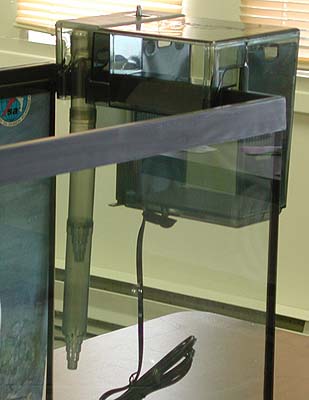
Placing Mesh on Intake Tube 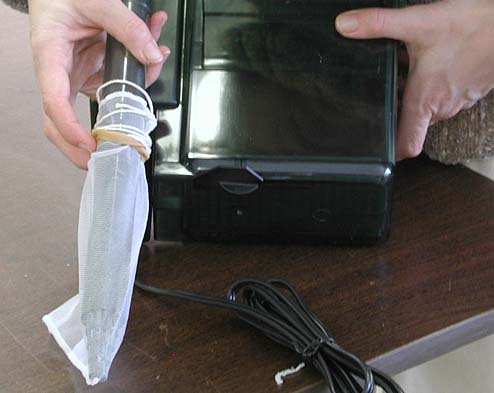
- Connect the intake tube together so that it is inside the tank deep enough to ensure proper water circulation
- Use an elastic band to reinforce
- Mesh bag prevents alevin from getting sucked up the intake
Placing Powerfilter on Aquarium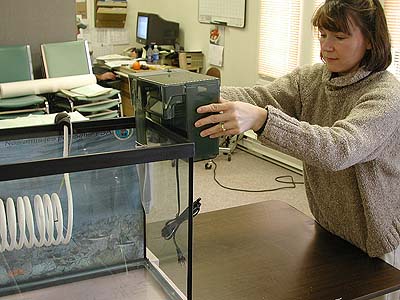
- It is best to position on either end of the aquarium
- An outlet located at the back of the chiller unit can be used to plug in the filter
Filter Units 1 and 2 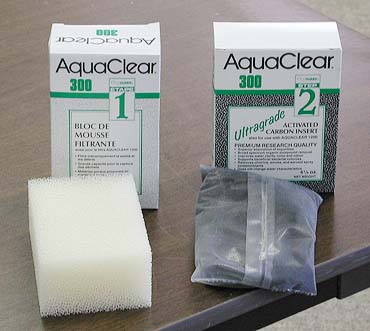
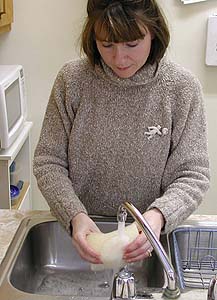
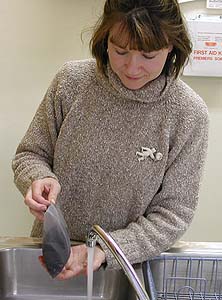
- Ensure that the filters are rinsed well with warm water before placing them in the power filter
Unit 1 (Foam) thoroughly washed, thoroughly rinsed
- Used to filter dirt and debris
Unit 2 (Charcoal) thoroughly washed with water
- Used to absorb impurities and improves water clarity, colour and odour
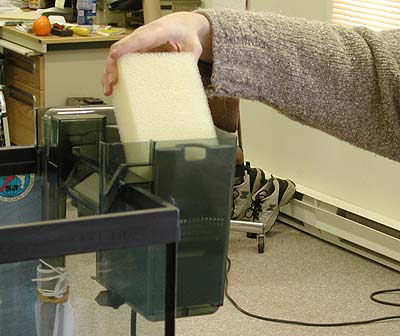
Foam Goes in base of Powerfilter
Charcoal (Filter Unit 2) Goes Above
Dropping Top of Powerfilter in place
- Once water is approx. 1/2 way up intake, plug power filter into receptacle on the side of the chiller
- Prime the power filter by pouring water into it.
Place Rocks in Bottom of Tank
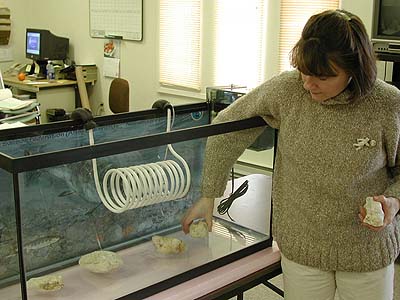
- This creates an “environment” and shelter for the newly hatched alevin
- Use rocks that are approximately 1″-2″ in diameter.
- Ensure that the rocks are thoroughly washed in warm water. Rocks from a pet store or quarry are preferable.
- Avoid using rocks from driveways and the like, as there may be oil residue on them.
- Some teachers like to cover the bottom of the tank entirely with rocks; others have had success with very few rocks. This is a matter of personal preference. The important thing is to use some rocks.
Level to which Water should be added
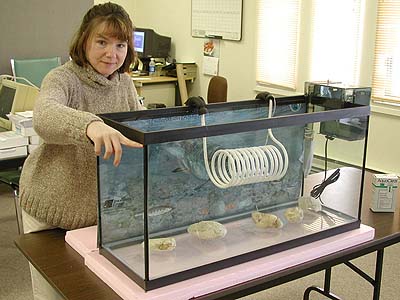
- The water level should be no lower than six inches from the top of the aquarium
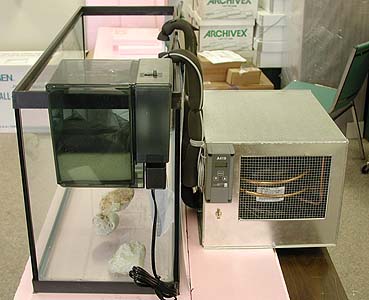
Side view of Aquarium and Cooler Unit
- Once unit is set up, plug the chiller into wall outlet; this should activate the power filter.
- Clean the radiator. It is a good idea to unscrew this back area and vacuum dust from the radiator. Ideally this should be done when getting the unit ready for eggs.
- Troubleshooting tip: in the event that there is power “trip offs” which results in the chiller ceasing to run, check with the custodian about a possible fuse failure. If the fuse is functioning properly, press the “Reset” button on the back of the chiller unit.
Side view of Aquarium with thermostat of Cooler Unit
- Temp. gauge is pre-set to 5º Celsius when turned on (see changing temperature below)
- It is best to keep the thermostat out of reach of children to avoid mishandling of buttons, etc.
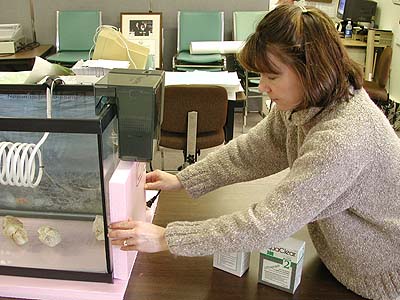
Insulation at end away from Powerfilter unit
- If using 1″ insulation, cut an addition 2″ of the width and height of the appropriate side
- If using 1 1/2″, add 3″ to the width and height of the side
- Duct tape or small finishing nails can be used to secure in place
Insulation fitted beneath filter unit
Insulation Top Piece, with notches for Cooler arms
- Leave space for chiller coils and power filter
Insulation at Front (Optional)
Starting Unit
- Plug unit into wall receptacle
- Flip switch to ON position
- Temperature control will flash, then start after 7 minutes
Changing the Temperature:
- Press menu button, SP (set point) will appear flashing
- Press menu button again and the set point numbers will appear flashing
- Use arrow keys to change the temperature
- Press menu button again, and the new temperature will be set
Changing from Celsius to Fahrenheit
- At any time during operation press both arrow buttons
Equipment used with the Fish Friends Tank
Special Resources Available to Teachers